
Canyon Defense is a thrilling and strategic tower defense game that challenges players to protect their bases from waves of enemies. Whether you’re a beginner or an experienced player, mastering the maps is crucial to success. In this article, we’ll break down the strategies, tips, and tricks you need to dominate Canyon Defense and maximize your gameplay experience. Let’s dive into the fascinating world of Canyon Defense and discover how to conquer its maps like a pro.
Introduction: Understanding Canyon Defense
Before diving into map-specific strategies, it’s important to understand the basics of Canyon Defense. In this game, players must use different types of towers to stop waves of enemies from reaching their goal. Each map presents unique challenges that require a tailored approach. By mastering the maps, you can enhance your tower placement, optimize your strategy, and emerge victorious.
The Importance of Map Knowledge
1.1 Why Knowing the Map Matters
Each map in Canyon Defense has its own layout, paths, and terrain features. Understanding these elements is vital because it allows you to plan your defenses effectively. For example, some maps have multiple paths that require multi-layered defense, while others have chokepoints where a single tower can make all the difference. Knowing the map’s intricacies helps you place your towers in the best positions to maximize their effectiveness.
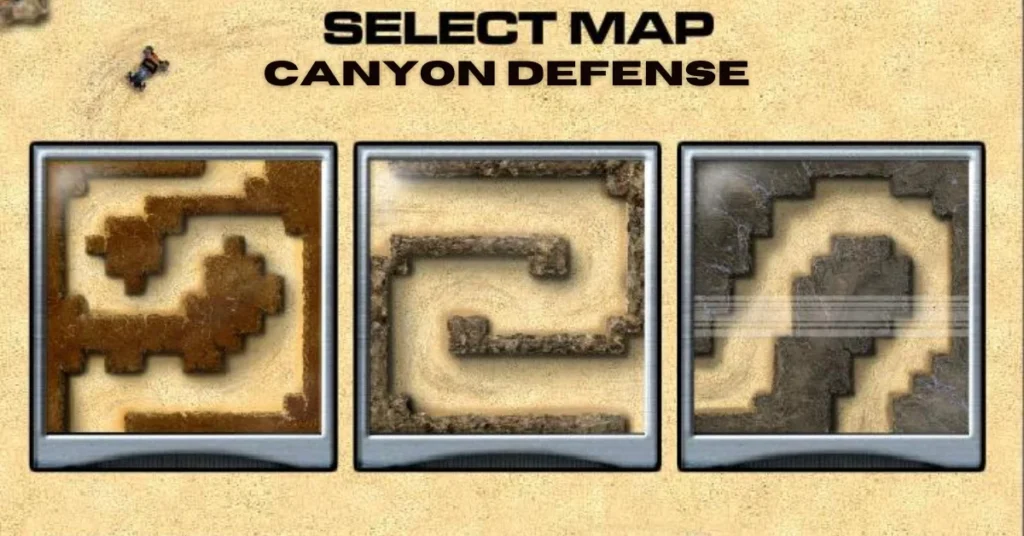
Types of Maps in Canyon Defense
Open Maps: Freedom of Placement
Open maps have large, unobstructed spaces where you can place towers without many restrictions. These maps typically give players the freedom to experiment with different tower combinations. However, they often require more strategic planning to cover the entire map efficiently.
Chokepoint Maps: Narrow Paths, High Stakes
Chokepoint maps feature narrow, winding paths that limit tower placement. These maps require you to strategically position your towers to block or slow down enemy units. Proper placement in chokepoints is crucial for maximizing tower effectiveness and ensuring enemies don’t slip through your defenses.
Vertical Maps: Height Advantage
In vertical maps, the elevation changes add a new layer of strategy. Towers placed on higher ground have a broader range, allowing them to target enemies over long distances. This can be a huge advantage if you’re able to take control of the map’s higher ground and dominate the enemy.
General Strategies for Mastering Canyon Defense Maps
Plan Your Defense in Layers
In Canyon Defense, it’s often not enough to rely on a single tower type. A layered defense, with a mix of towers that handle different enemy types, is essential for success. For example, use slow-effect towers to buy time, while placing high-damage towers to take down tough enemies.
Optimize Your Resources
Always consider your resource allocation. Each tower costs resources to build, and you need to make sure you’re investing wisely. Early in the game, focus on building cheaper towers that slow down enemies or deal basic damage. As the waves progress, upgrade your towers and add more powerful ones to maintain a strong defense.
Take Advantage of Map Features
Many maps in Canyon Defense have special features that can give you a strategic advantage. These could include natural chokepoints, narrow bridges, or even terrain that blocks certain types of enemies. Look for these opportunities to funnel enemies into kill zones where your towers can focus their firepower.
Advanced Tactics for Specific Maps
Mastering the Open Map
Open maps may seem simple, but they require careful thought. Here’s how to approach them:
- Centralize Your Defenses: Build your strongest towers near the middle of the map to hit enemies from all directions.
- Create Kill Zones: Use barriers or slow-effect towers to corral enemies into specific areas where your damage-dealing towers can focus.
- Use Versatile Towers: In open maps, versatility is key. Invest in towers that can handle a wide variety of enemy types, such as splash damage or multi-target towers.
Winning on Chokepoint Maps
Chokepoint maps are all about control. Here’s how to dominate:
- Block Enemy Movement: Use slow or freeze towers to slow down enemies at chokepoints, giving your other towers more time to deal damage.
- High-Damage, Single-Target Towers: In tight spaces, single-target damage towers can shine. Place them in key chokepoints where they can focus on eliminating the toughest enemies.
- Use Decoys or Traps: Certain towers or traps can act as decoys to lure enemies into kill zones. This is especially effective on chokepoint maps with limited paths.
Utilizing Vertical Maps for Maximum Impact
Vertical maps provide an advantage for high-ground towers. Here’s how to take advantage:
- Control the High Ground: Position your most powerful towers at higher elevations to maximize their range and coverage.
- Use Air Units to Your Advantage: Vertical maps often feature air units that can bypass ground defenses. Place air-targeting towers at strategic locations to protect your base from aerial threats.
- Funnel Enemies into High Ground: Lead enemies toward elevated platforms where your towers can attack from a distance, taking out enemies before they reach your base.
Common Mistakes to Avoid on Maps
Ignoring Terrain Features
Maps in Canyon Defense are designed with unique terrain features that can help or hinder your defense. Ignoring these features and placing towers randomly is a rookie mistake. Always analyze the terrain before you start building.
Overlooking Tower Synergy
Some towers work better together than others. For instance, a slow-effect tower combined with a high-damage tower creates a deadly combo. Overlooking tower synergy can lead to a lack of efficiency in your defense strategy.
Underestimating Enemy Types
Different enemy types require different strategies. Don’t just focus on one type of tower; make sure you’re prepared for all types of enemies, including armored, flying, or fast-moving units. Understanding the strengths and weaknesses of your enemies is key to building an effective defense.
Tips for Upgrading Your Towers
Upgrade Early, Upgrade Often
Upgrading your towers is one of the most effective ways to increase your defense’s strength. Don’t wait too long to upgrade your towers; do it early, so you’re prepared for tougher waves. Upgrading towers is usually more cost-effective than building new ones, so prioritize upgrades when possible.
Focus on Key Towers
While upgrading everything might seem tempting, focus on upgrading your most important towers. High-damage, single-target towers and area-of-effect towers are often the most impactful, so prioritize them for upgrades to maximize their effectiveness.
Timing is Everything
Don’t Rush to Build
Building too quickly can lead to poor defense placement. Take your time, plan your layout, and make sure each tower has a purpose. Rushing can result in weak spots that enemies will exploit.
Wait for the Right Moment to Upgrade
Timing your upgrades is just as important as building your towers. Don’t upgrade too early or too late; wait until you have enough resources and the right opportunity to boost your towers’ effectiveness.
Conclusion
Mastering the maps in Canyon Defense requires a combination of strategic thinking, resource management, and adaptability. By understanding the unique features of each map and using advanced tactics, you can dramatically improve your chances of success. Remember to plan ahead, utilize tower synergies, and keep an eye on terrain features to stay one step ahead of the enemy.